The Roofing Replacement Process from Start to Finish
If your roof is showing signs of wear, leaks, or storm damage, a replacement may be in order. Knowing what the process of roof replacement entails and what to expect at each step helps everything go smoothly.
Step 1: Inspection and Estimate
The process starts with a thorough inspection. An experienced roofer checks the shingles, flashing, underlayment, and decking. This helps determine whether a full replacement is necessary and what materials would be best. Once the assessment is complete, you receive a detailed estimate. This covers labor, materials, permits, warranties, and any recommended add-ons such as new gutters or upgraded underlayment.
Step 2: Choosing Materials
Your choice of shingle type and color is partially an aesthetic decision, but your selection also affects durability, energy efficiency, and maintenance requirements. Asphalt shingles are the most popular roofing material in Northern California, but metal and tile are other worthwhile considerations. Your contractor can help you compare materials based on your home’s structure, local weather, and budget.
Step 3: Scheduling and Prep
Once you have selected the materials, your contractor schedules the job, providing a clear start date and estimated timeline, weather permitting. On installation day, the crew arrives early to prepare the site. They lay down tarps to protect the landscaping and position dumpsters to catch debris.
Step 4: Tear-Off and Decking Inspection
The existing roof is removed down to the decking. During this phase, any soft, rotted, or damaged areas of the deck are identified and repaired. If gutters are part of the project, they’re detached at this time. This part of the roof replacement process provides your new roof with a solid foundation that meets all local building codes and regulations.
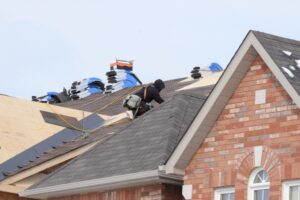
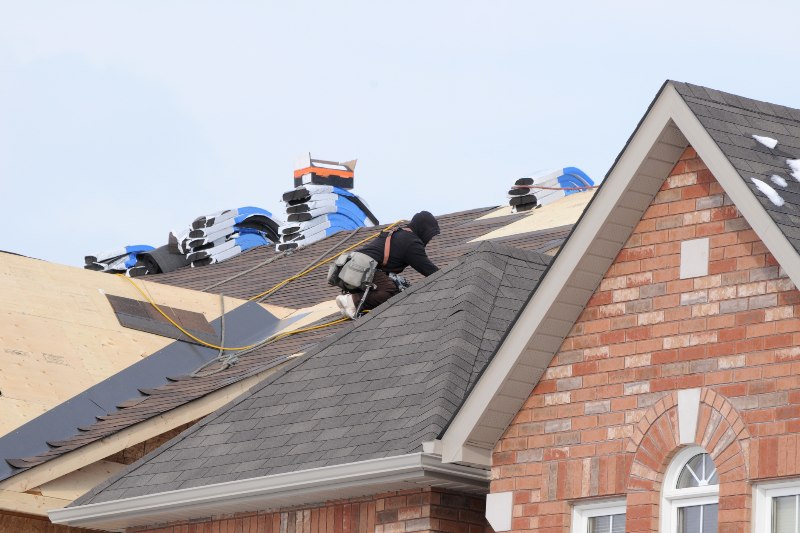
Step 5: Installing Underlayment and Shingles
Next, protective layers like synthetic underlayment and moisture barriers are installed to prevent leaks and extend the roof’s lifespan. Shingle installation follows, with crews working from the bottom up in clean, even rows. Roof vents, flashing, and pipe boots are added or replaced to match your system.
Step 6: Final Touches
With the shingles in place, it’s time to add ridge caps and check ventilation. New gutters are installed or the old ones reattached. The crew removes all debris from the roof, hauls away scraps, and leaves your property as clean as they found it.
Step 7: Walkthrough and Warranty
The final walkthrough is your chance to review the work with your contractor. You’ll also receive material and labor warranty documents, giving you peace of mind that your roof is protected for years to come.
Why Homeowners Trust NorCal Roofing & Gutters
A successful roof replacement depends on clear communication, skilled labor, and attention to detail. Working with a professional contractor minimizes delays, prevents hidden issues from being overlooked, and ensures code compliance.
NorCal Roofing & Gutters has helped homeowners and businesses complete their roofing projects with confidence since 1994. Our licensed, bonded, and insured team offers financing, insurance support, and free estimates. We deliver quality at a fair price, no matter the project’s size or scale. Contact us today to schedule a roof replacement inspection in Sacramento, Stockton, or the Bay Area.